Armor stand in Minecraft is not only a functional element, but also an important attribute for effective equipment management. It is a special design that can store and display the player’s armor, making the equipping process more organized and convenient. An armor rack not only frees up inventory space, but also allows you to easily and quickly switch between different types of armor depending on the situation. Its decorative capabilities also make it an attractive addition to the gaming space, giving a player’s home or base a stylish and personal look.
Why do you need an armor stand in Minecraft
The armor stand in Minecraft has several important functions and advantages, here are the main ones:
- The Armor Rack allows players to organize their gear and easily manage their armor. It helps keep your armor in one place, avoiding inventory clutter.
- Since armor takes up a lot of inventory space, an armor rack allows you to free up that space for other items and resources.
- Players can quickly and easily equip and remove armor using the stand. This makes the equipping process more convenient and efficient, especially in situations where you need to quickly change types of armor depending on the circumstances.
- The armor stand can also be used as a decorative element in the game. Players can create different designs and combinations of armor racks to give their home or base a unique and stylish look.
Thus, the Minecraft Armor Rack provides convenience, organization, and decorative options when managing your armor, making your gaming experience more enjoyable and efficient.
How to craft an armor stand in Minecraft
Don’t know how to craft an armor stand in Minecraft? In the game world or real life, storing your armor can be key to protecting and maintaining it. If you play games like Minecraft and want to know how to create an armor stand, this guide will help you with that. Here are the steps:
Step 1: Gather materials.
- You will need blocks (of your choice) to create the stand. Wood, stone, metal and others are suitable.
Step 2: Open the workbench.
- In Minecraft, open the workbench to start crafting.
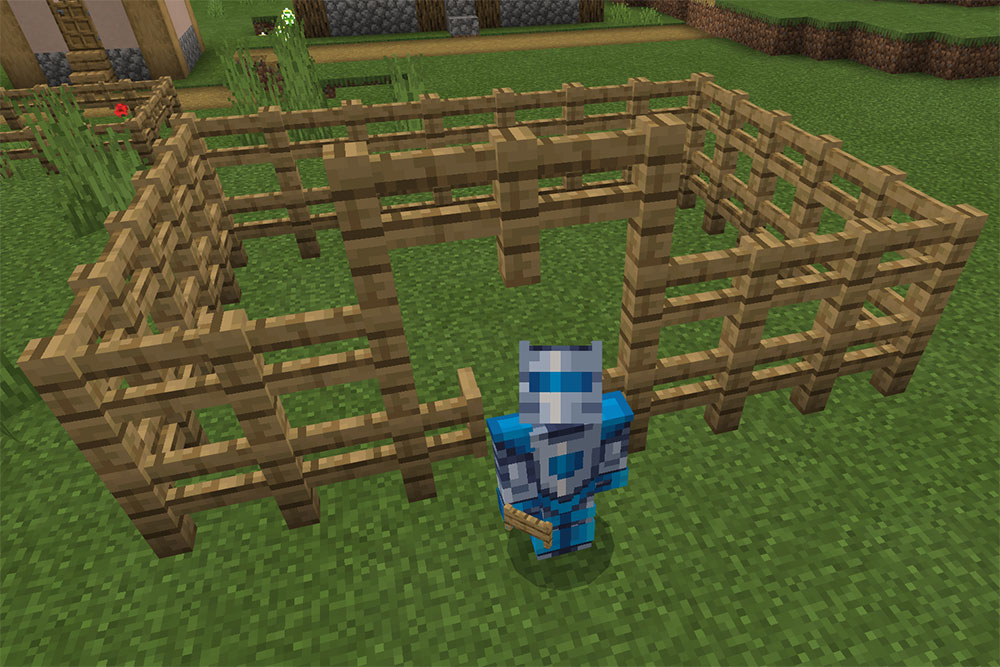
Step 3: Place the blocks.
- In the workbench, create an armor rack structure using the blocks you choose. You can make your stance high or low depending on your preference.
Step 4: Add hooks.
- Use hooks to hang armor. You can create them using iron or other materials.
Step 5: Place the armor.
- Hang your armor on hooks. It will be stored securely and will be easily accessible to you.
Step 6: Finish.
- Check to make sure your armor rack is strong and secure. Now you can easily store and access your armor in the game.
Creating an armor stand is an important step to ensure its safety and availability in the game. Follow these steps to create functional and stylish storage for your armor and get ready for adventures in the world of Minecraft and beyond!